Showing posts with label tutorial. Show all posts

Monday, January 4, 2016

Step by Step NYE Makeup


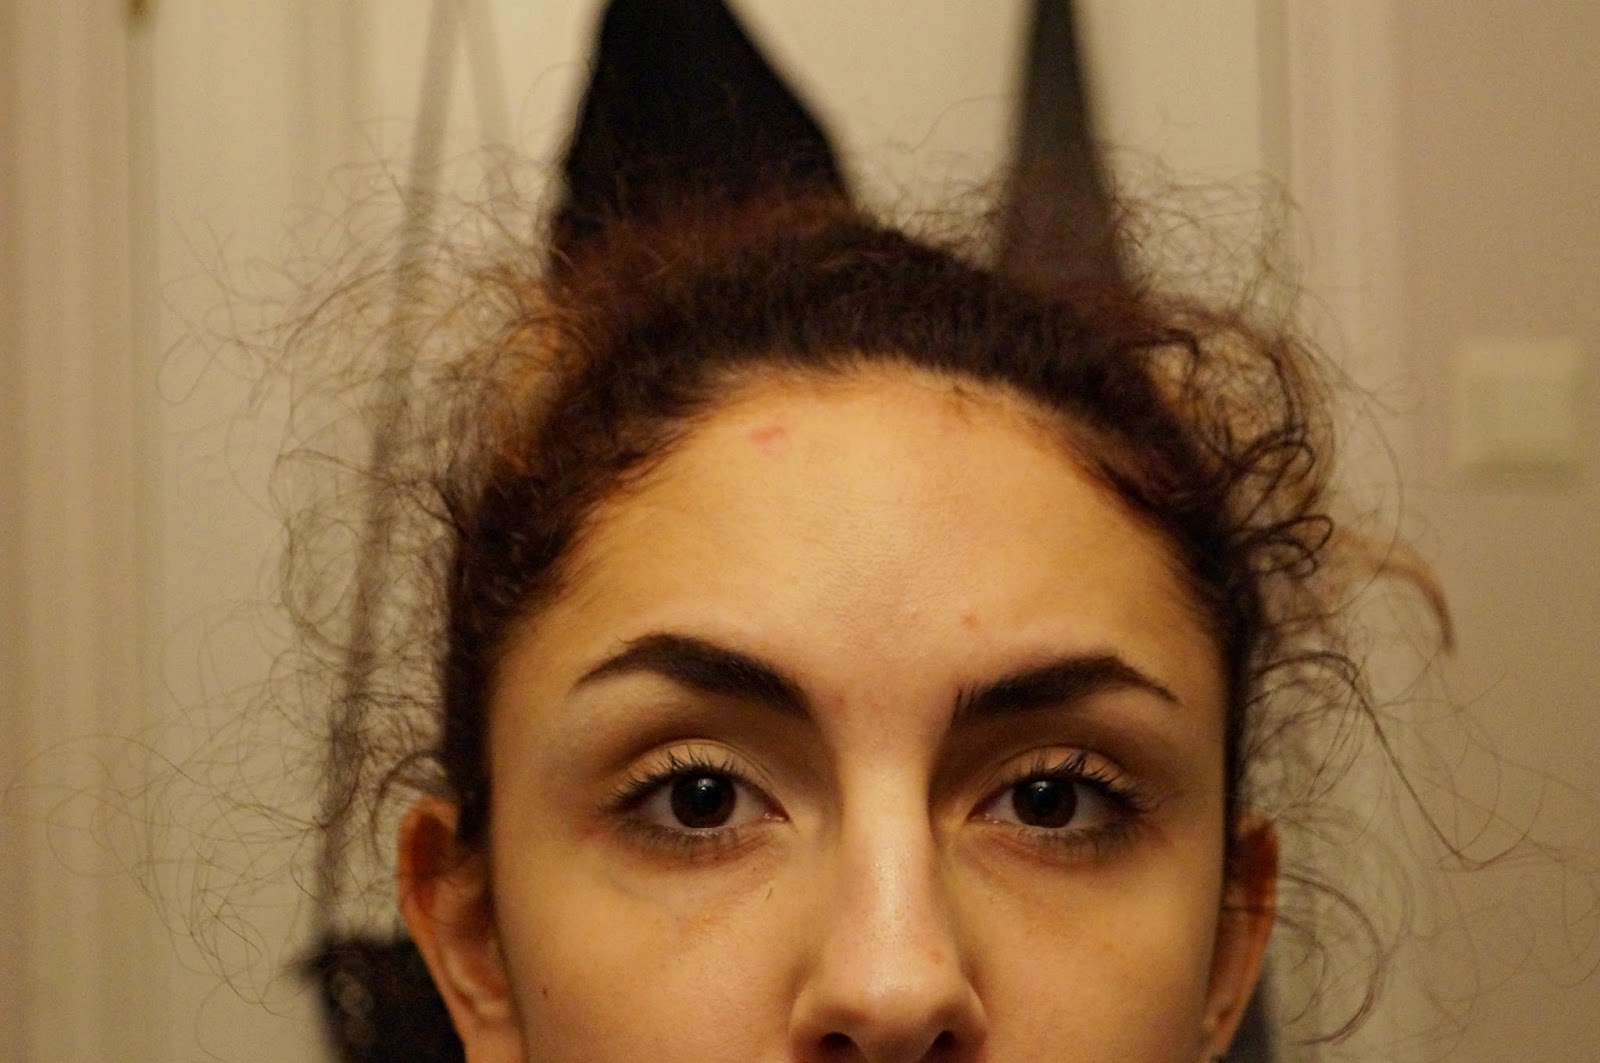
 Hey there! I'm glad you clicked in to check out this tutorial for the look above. It was my New Year's makeup, and because I had too much fun that night to take any high quality pics, I decided to recreate it for you guys. With daylight and everything! So here I am starting off with a bare face and only eyebrows done. 

 Then I prime my lids and even them out with a light matte shadow. This helps create an even canvas and shadow blends much easier on top of another powder than right on top of a sticky base such as primer.

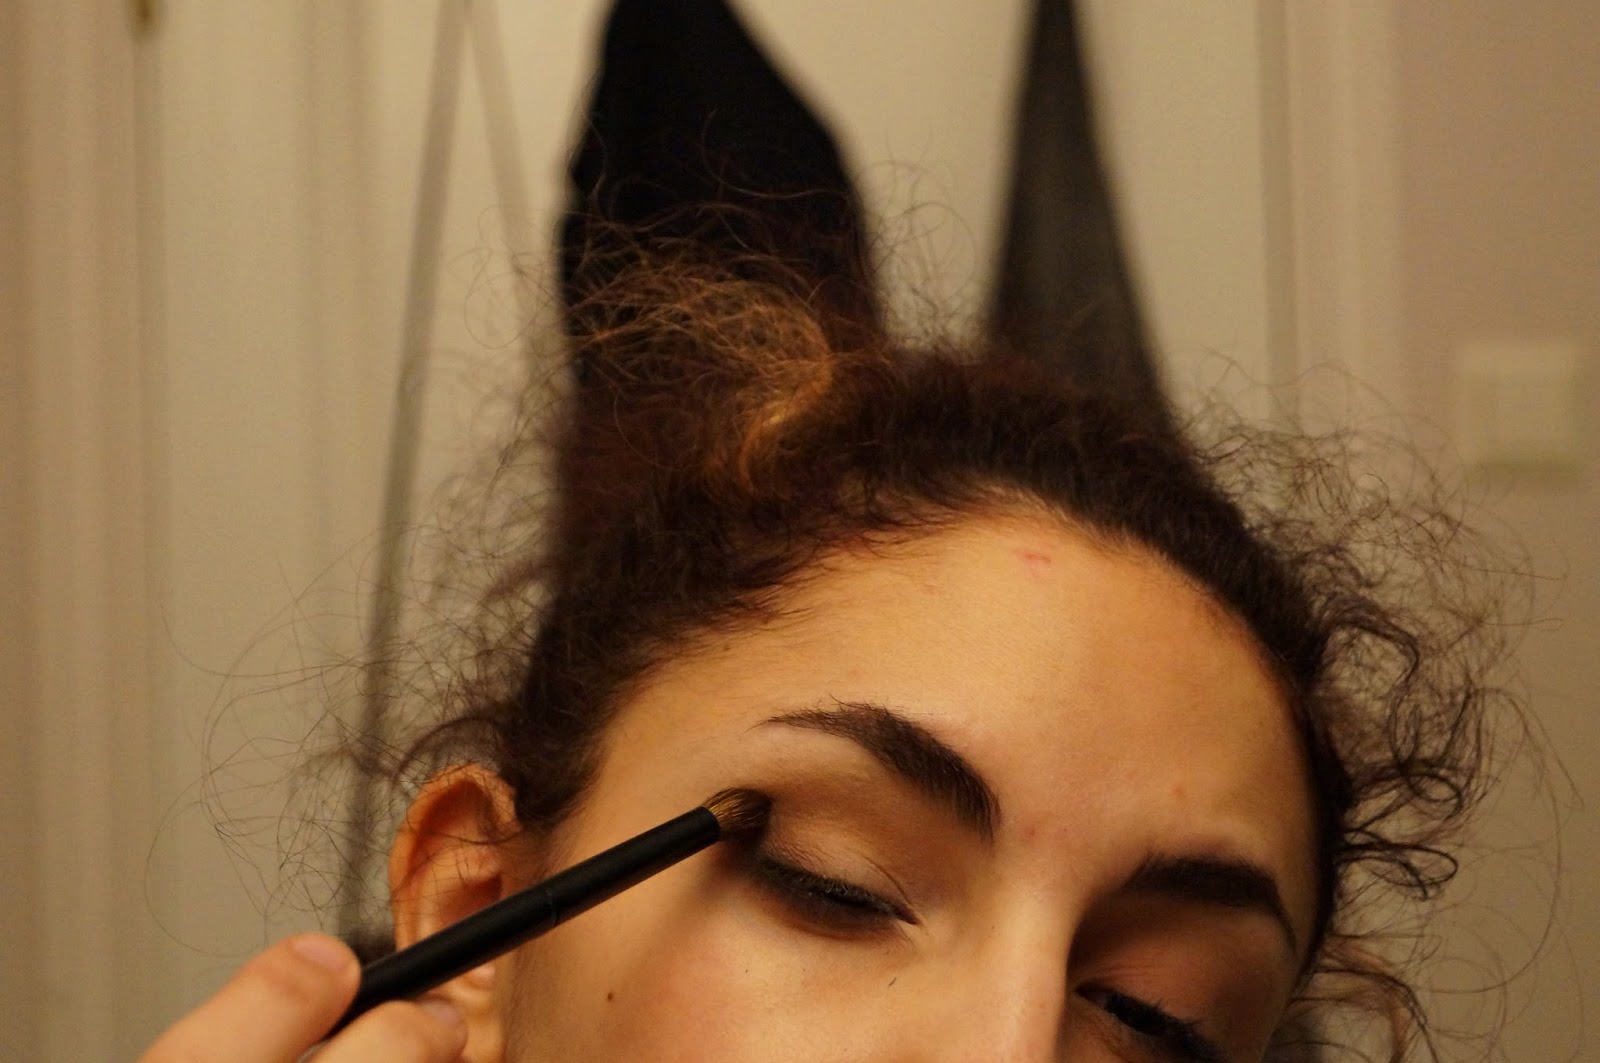
 First I defined the crease slightly with a cool contour shade. Then I went in with a deeper brown and focused on the outer V. The third step is to add a wing with very dark brown shadow, also a line along the top & bottom lashes. 

We're keeping the inner half or 2/3 of the lid light! I added shimmery champagne shadow there and in the inner corner. As you can see the crease line is quite sharp. 

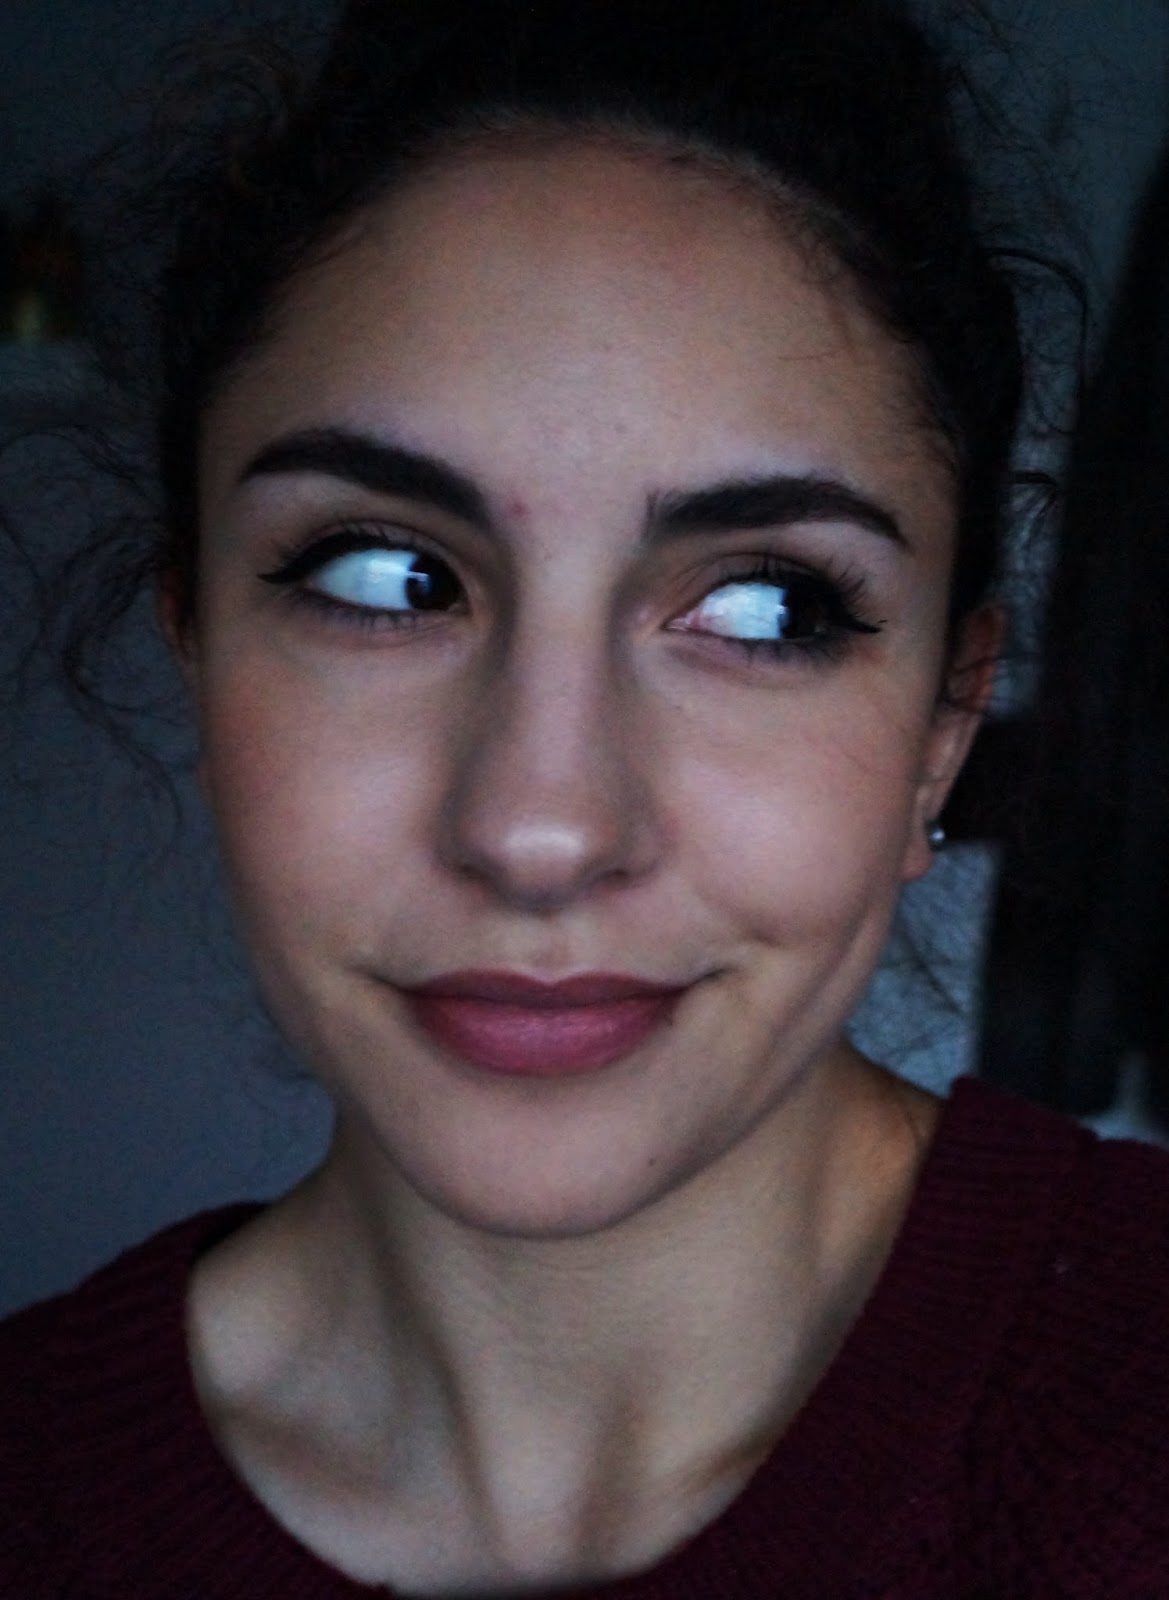
 Face-makeup on and POW! This is my New Year's face. Naturally I added mascara on the top and bottom lashes and on New Year's I was wearing falsies for once wich was superfun.


Friday, November 27, 2015

New Stuff & Tutorial


 Primed my eyes. Covered the lid with a matte light beige using the bigger end of the double-ended brush. Enjoy the progressively worse lighting, I'm so sorry for that guys. 

 Applied some bronzer in the crease with my new fluffy brush. I love it so far. 


 Repeat that with a darker brown, keep the colour more concentrated on the outer corner. I also used the small flat end of the other brush to darken my lashline. 


 Of course I had to use my new and first fleshtoned liner. I do think it fits this look that's supposed to make my eyes look bigger very well, though. 

 Finished look with facemakeup and everything!


Saturday, November 14, 2015

Simple FOTD

The other day I did a quick, simple makeup look and tooks some pics with it on. I only used brightening concealer in the T-zone, bronzer, highlighter and setting powder in that order. Then I did a small wing and my eyebrows. For my lips I actually used a dark brownish-red lipliner and light concealer in the center, then blended it all out.
Hope you enjoy the pics and have a great weekend! 


Wednesday, September 9, 2015

Cupcake Frosting


So I did this weirdly, unusually sweet makeup look and wanted to show you guys. It's a little tutorial kinda-thing for you. Hope you enjoy! 

 Prime your eyes people. I used a glittery one in my inner corner because I had it, but just use what you have . 

 Put a matte beige underneath your brown. Then pack on matte grey shadow on the lid.

 As you can see, I applied the grey shadow in an elongated "V" shape. Then packed on glittery pink.

When I do a cat-eye, I sometimes trace the line with dark shadow first. So that was step one here before the actual liquid liner. 


Tuesday, March 24, 2015

Day to Night Grunge

Here I already had foundation and concealer on. 

Next step was to tightline upstairs and on the lower lashline. Smudge it a little with a brush or ringfinger. 

I put bronzer all over my lid, up to my crease. I used a fluffy brush, which does the blending for you. 

Here I put a darker warm brown more concentrated on the outer part and upper lashline. 

Mascara and eyebrows! 

Added some peach blush and the daytime look is done! You can pretty much go with any lipcolour, all from nude to a dark plum. Whatever you define as daytime-appropriate, baby. 

Okay now let's say you have plans later tonight. You don't need to remove all the work you've done and start over, just grab some matt navy eyeshadow. 

Put it on the outer part of the lid and upper lashline. Blend. Finish off with some sparkly highlight, I personally like silver when I use blue shadow. 


I've been loving navy in general, as you can see. 
Hope you enjoyed this little tutorial! I apologize for the crappy lighting towards the end, I got the inspiration for a tutorial and then saw my camera battery was absolutely empty. And while that was charging, it got dark really fast. (Note to self, just keep it charged)